How to Roast Hatch Green Chile
The clearest, most practical guide anywhere: choose the right method, blister properly, peel easily, and freeze in flat portions so Hatch flavor is always ready for tacos, stews, burritos, queso, and breakfast.
Wash + dry → cut a small steam vent → blister on high heat → steam 5–10 min → peel → cool promptly → freeze flat, labeled portions.
Cook next: Hatch Chile Recipes • Crowd-pleaser: Hatch Green Chile Queso • Comfort food: Green Chile Gravy
Watch: roasting Hatch green chile on a grill
Four minutes of the real thing: pods in a single layer over high heat, turned until the skin blisters and blackens, then straight into steam. Every high-heat method below — broiler, gas grill, charcoal, stovetop, propane roaster, air fryer — is the same two moves.
Best flavor
Grill or stovetop flame → deep char, classic New Mexico roast.
Easiest peel
Blister thoroughly + steam immediately → skins slide off in sheets.
Best for the freezer
Cool fast + freeze flat portions → better texture, faster weeknight meals.
On this page
Bookmark this section and hop around while you roast.
Quick start + safety
The single biggest unlock: blister enough, then steam immediately. If you do those two things, peeling becomes easy and fast.
Do this (fast checklist)
- Wash + dry completely.
- Cut a small slit along one side (steam vent).
- Roast hot until most skin is blistered/blackened.
- Steam 5–10 minutes in a covered bowl or food-safe bag.
- Peel with gloves and avoid eyes.
- Cool promptly and refrigerate or freeze.
Avoid this (common mistakes)
- Overcrowding (uneven blister → hard peel).
- Letting chile cool uncovered (no steam → hard peel).
- Rinsing aggressively under running water (can reduce flavor).
- Leaving roasted chile out for hours (cool and store promptly).
Step 1: Wash and dry the chile pods
Rinse fresh Hatch chiles under cool water to remove field dust, then pat them completely dry with a clean towel. Dry skins blister faster and char more evenly than wet ones, so this small step pays off the moment they hit the heat.
Method cheat sheet
If you want controlled indoor roasting: oven broiler. If you want the most authentic char: gas grill, charcoal, or stovetop flame. If you are roasting a whole sack: propane roaster. If you want clean small batches: air fryer. If you want easiest peel and don’t care about char flavor: microwave.
| Method | Best for | What you’ll get | Typical time |
|---|---|---|---|
| Oven broiler | Indoor roasting | Strong blister, less mess | ~6–12 min (flip once/twice) |
| Gas grill | Authentic char + bigger batches | Deep smoky flavor, easiest peel | ~6–10 min (turn often) |
| Charcoal grill | The deepest smoke flavor | Deep char, needs more turning | ~6–10 min (turn often) |
| Propane roaster | Whole 25-lb sacks | Even blister, no hand-turning | ~5 min per sack |
| Stovetop flame | Fast small/medium batches | Great char, smoky kitchen | ~6–8 min (turn frequently) |
| Air fryer | Clean small batches | Even blister, minimal smoke | ~7–15 min (varies) |
| Microwave | Easiest cleanup | Easy peel, minimal char flavor | ~7–8 min + brief steam |
Roasting 10–25 lbs? A dedicated setup is the biggest quality-of-life upgrade: Hatch Chile roasters.
Before you roast (prep + gear)
Two minutes of prep makes peeling faster and results more consistent.
What you need
- Tongs + heat-safe gloves
- Sheet pan or tray
- Covered bowl/pan or food-safe bag (for steaming)
- Knife + cutting board (optional)
Prep steps
- Wash + dry completely.
- Cut a small slit (steam vent).
- Batch your chile so it blisters evenly.
Roasting methods (7 ways)
Every method is the same goal: blister the skin (don’t “gently bake” it), then steam immediately. Open the method that fits your setup.
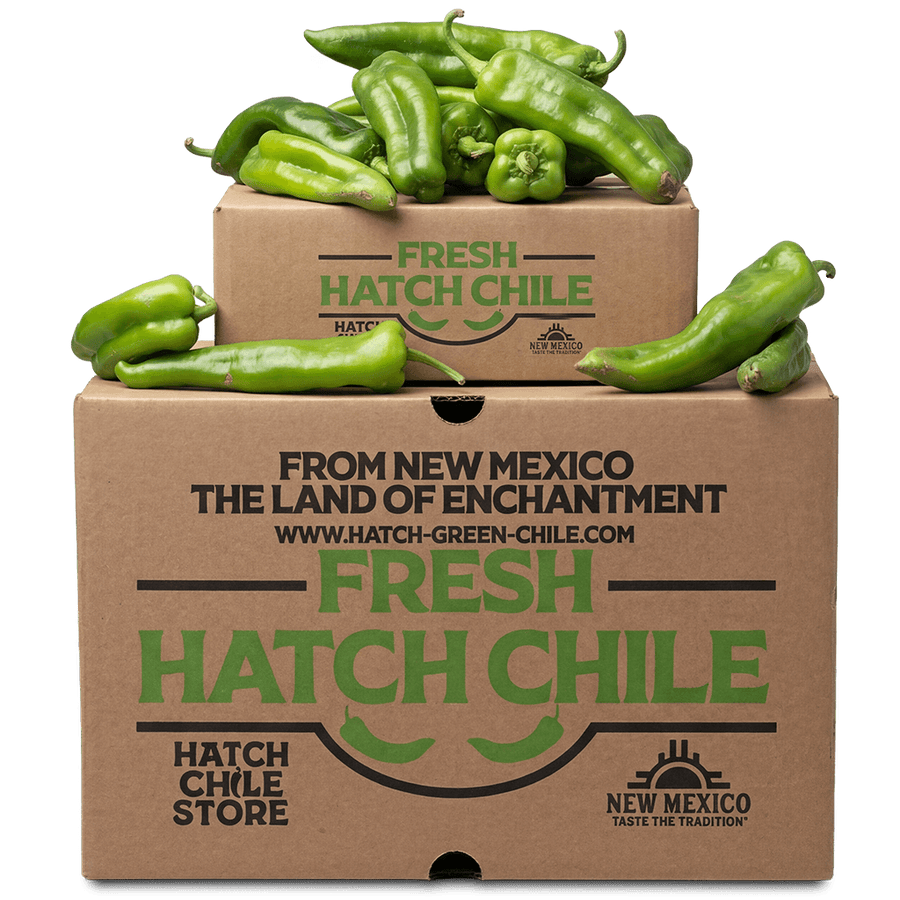
Order fresh Hatch green chile for roasting during harvest season, or see propane chile roasters for home roasting if you are working through 25-lb sacks.
Method 1: Oven broiler (how to roast Hatch chile in the oven)
- Set the broiler to high and preheat.
- Line a sheet pan with foil and lay the chiles in a single layer, not touching.
- Broil on the top rack until the skin blisters, then flip and repeat on the second side.
- Move them straight into steam (see Steam + peel), then peel.
Tip: Move the pan closer to the element for a better blister, but watch closely—broilers vary.
Method 2: Gas grill
- Preheat the grill to very hot (many people aim around 450°F).
- Lay the chiles in a single layer with space between them.
- Turn frequently until most of the skin is blistered and blackened.
- Move immediately to steam (see Steam + peel), then peel.
What “done” looks like: lots of blackened blistered patches. That’s what makes peeling easy.
Method 3: Charcoal grill
- Burn the coals down to a hot, even bed and spread them in a single layer.
- Set the grate close to the coals and let it heat through.
- Lay the chiles in a single layer and turn them frequently until most of the skin is blistered and blackened.
- Move immediately to steam (see Steam + peel), then peel.
Watch for: flare-ups and hot spots. Charcoal beds are less even than a gas burner, so rotate pods as well as turning them.
Method 4: Stovetop flame (gas)
- Place the chile directly over the flame (or on a wire rack set over the burner).
- Turn every 30–60 seconds with tongs until the skin blisters all over.
- Steam immediately, then peel.
Ventilation: hood fan + open window. This method gets smoky.
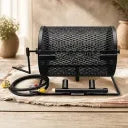
Method 5: Propane chile roaster
- Set the roaster on level ground outdoors and hook it up to a 20-lb propane tank.
- Light the burner and let the steel drum come up to heat.
- Load the drum and let it turn so the pods tumble through the flame instead of sitting in it.
- Roast until the skins are blistered all over, then tip the batch straight into a covered tote or bag to steam.
A traditional roaster is a slowly-turning steel drum heated by propane — chiles tumble inside and blister over open flame, and a 25-lb sack is done in about five minutes. See propane chile roasters for home roasting.
Method 6: Air fryer
- Preheat air fryer (often around 400°F).
- Single layer—don’t stack.
- Cook until blistered/browned; flip once if needed.
- Steam immediately, then peel.
Note: Air fryer models vary. Your first batch sets your timing.
Method 7: Microwave (no char)
- Place chiles in a microwave-safe covered dish (build steam).
- Microwave ~7–8 minutes (depends on wattage and batch size).
- Keep covered 1–2 minutes to finish steaming.
- Peel—skin won’t be charred, but it loosens well.
Tradeoff: you’ll peel easily, but you won’t get grill char flavor.
Step 2: Char over open flame
Lay chiles in a single layer on a hot grill, stovetop burner, or under a broiler set to high. Turn them every 30–60 seconds with tongs until most of the skin is blackened and blistered — that deep char is what gives Hatch chile its signature smoky flavor and makes peeling easy.
Steam + peel (the key step for easy peeling)
If peeling is difficult, it’s almost always because the chile wasn’t blistered enough or wasn’t steamed right away. Steam traps heat and moisture, loosening the skin so it pulls off in sheets.
Steam immediately
- Put hot chiles in a covered bowl/pan or food-safe bag.
- Steam 5–10 minutes until cool enough to handle.
- Then peel—don’t wait for them to fully cool uncovered.
Peel faster
- Wear gloves (especially for hot chile).
- Pinch a blister edge and pull; avoid tearing the flesh.
- If you need water help, peel in a bowl (avoid blasting flavor away).
Step 3: Steam and peel
Move the hot, charred chiles straight into a covered bowl or food-safe bag and let them steam for 5–10 minutes. The trapped heat loosens the skins, so they slide off in sheets when you peel with gloved hands — no scrubbing, no rinsing away flavor.
Storage timelines and spoilage signs: Does Hatch Green Chile go bad?
Heat control + prep styles
Most heat lives in the inner ribs/membrane. For milder chile, remove more membrane. For full heat, keep it.
Prep styles (choose how you’ll cook)
- Whole pods: rellenos, stuffing, smothering
- Strips: burgers, sandwiches, bowls
- Chopped: stew, queso, eggs, sauces, baking
What people make first
Cooling + freezing (better texture, less freezer burn)
If you’re roasting for the freezer, the goal is fast cooling, smart portions, and flat bags. This keeps texture better and makes weeknight cooking easy.
Freeze like a pro
- Cool promptly (don’t leave it out for hours).
- Portion into meal-size bags (½ cup or 1 cup is a great default).
- Remove air and freeze flat.
- Label with date + heat level.
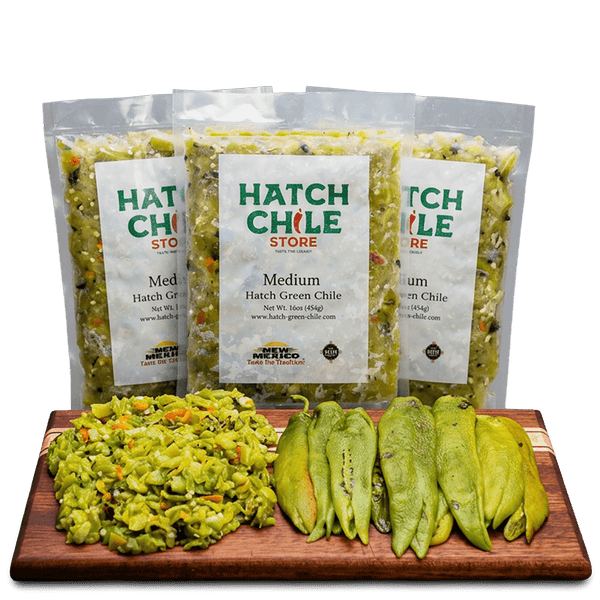
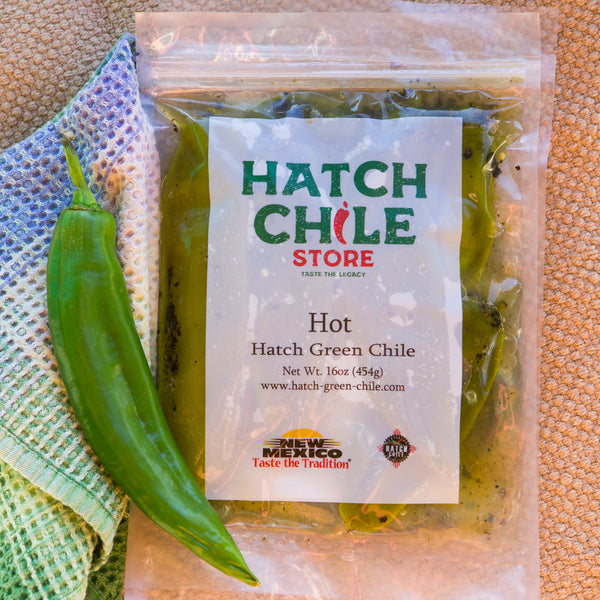
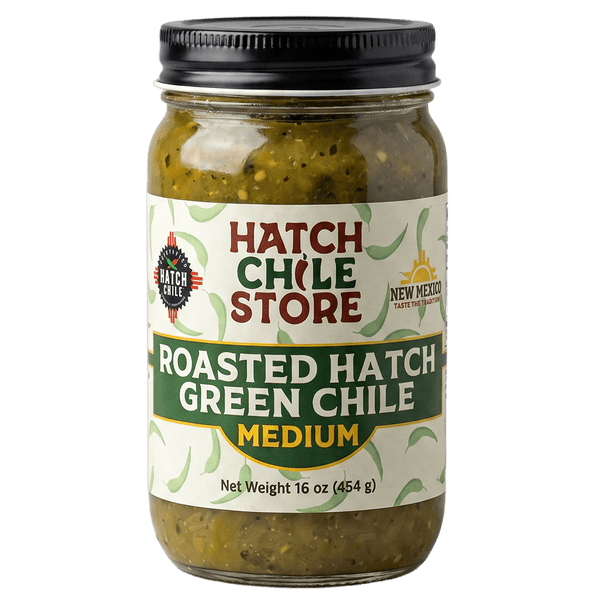
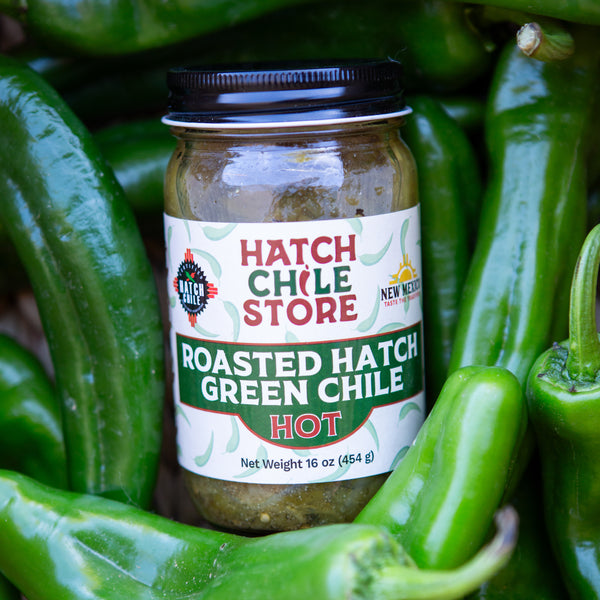
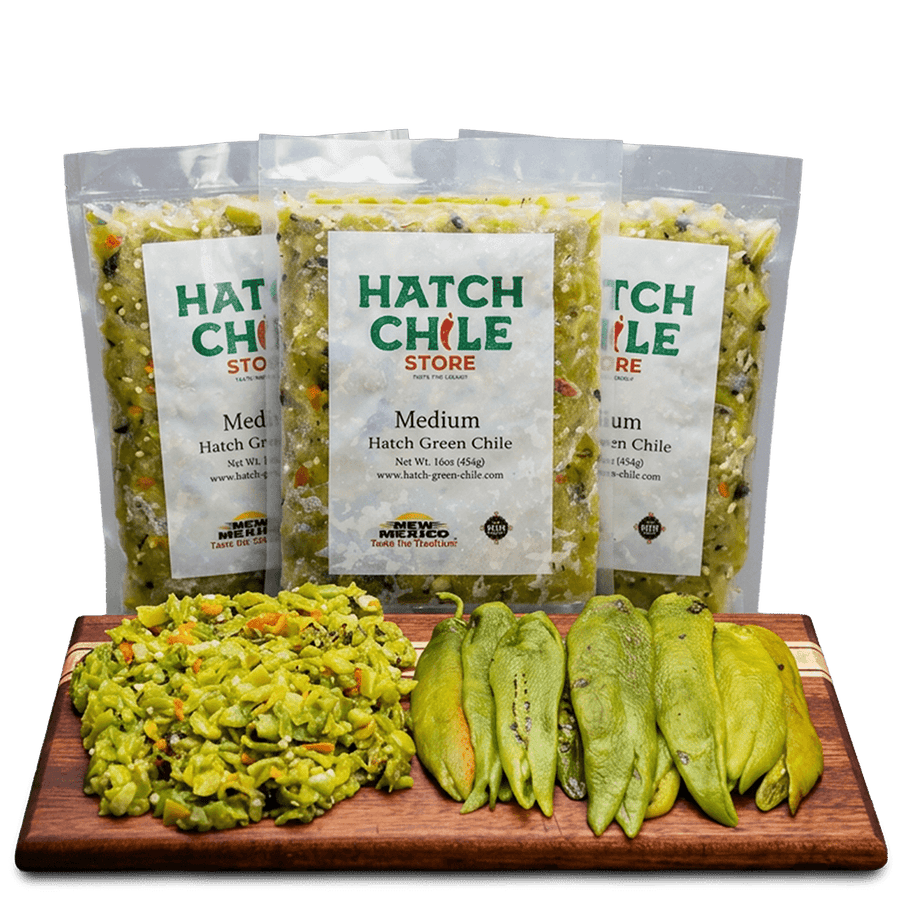
Prefer “already done”?
Step 4: Pack and freeze
Cool the peeled chile quickly, then portion it into meal-size freezer bags (a half-cup or one cup is a great default). Press the bags flat, squeeze out the air, and label each one with the date and heat level so weeknight dinners are one quick thaw away.
Troubleshooting (quick fixes)
These are the exact issues that ruin roasting—plus the fixes that work immediately.
Skin won’t peel
Chile is mushy
Kitchen got too smoky
Not enough char flavor
Too spicy
FAQ
Do I have to poke holes in Hatch Chile before roasting?
Do I need oil?
How do I roast 25 pounds efficiently?
How should I store roasted chile?
What to cook next (high-satisfaction picks)
Once you’ve roasted, you’re holding the best “instant New Mexico flavor” ingredient. These next clicks are the fastest path to great meals.