


Main Course
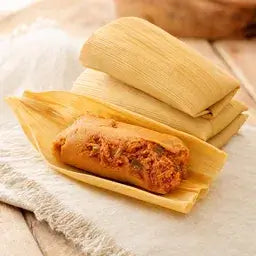
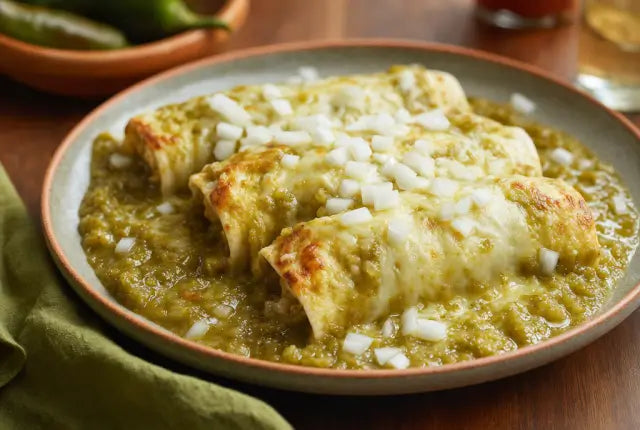
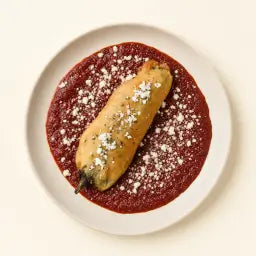
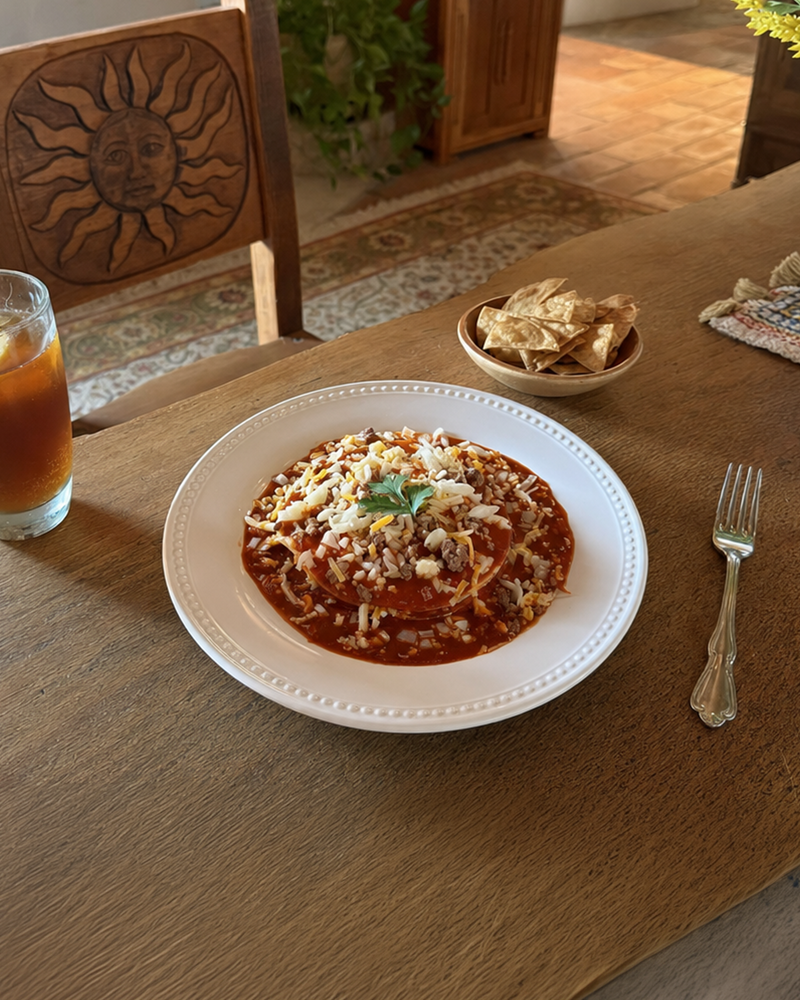
Red Chile Enchiladas
 4.9 · 96 reviews
Total1 hr
Serves6 servings
DifficultyEasy
Heatmedium
 4.9 · 96 reviews
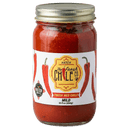
Red Chile Enchiladas
- Prep20 min
- Cook40 min
- Total1 hr
- Serves6 servings
Easymedium heat
Ingredients
Instructions
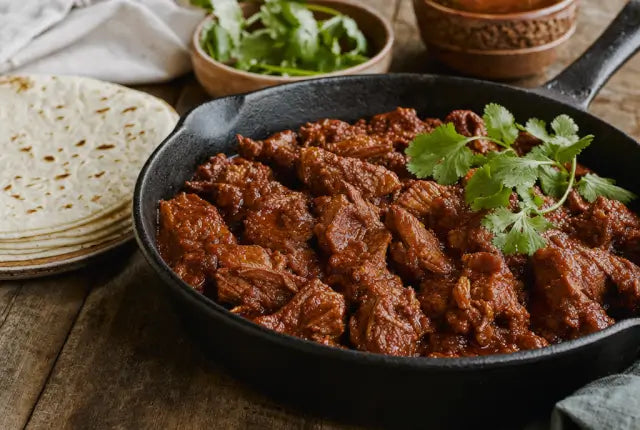
- Brown the ground beef in a skillet with half the diced onion; season with salt and set aside.
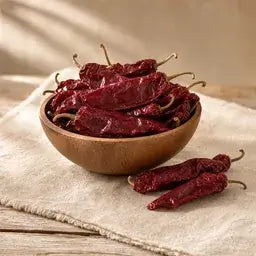
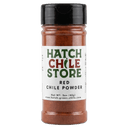
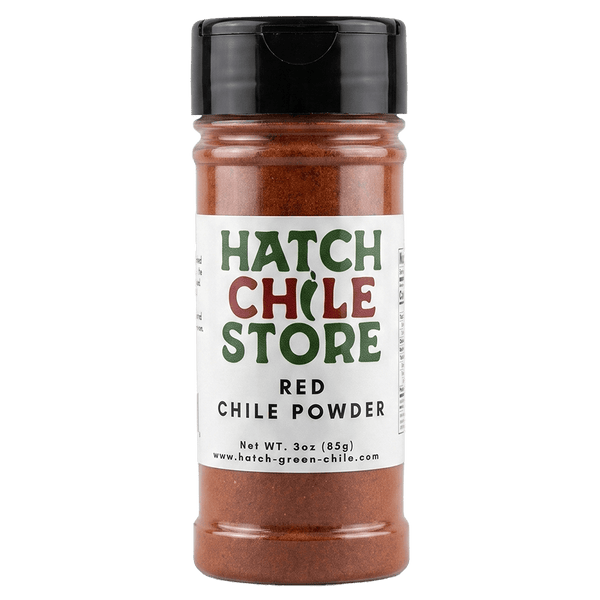
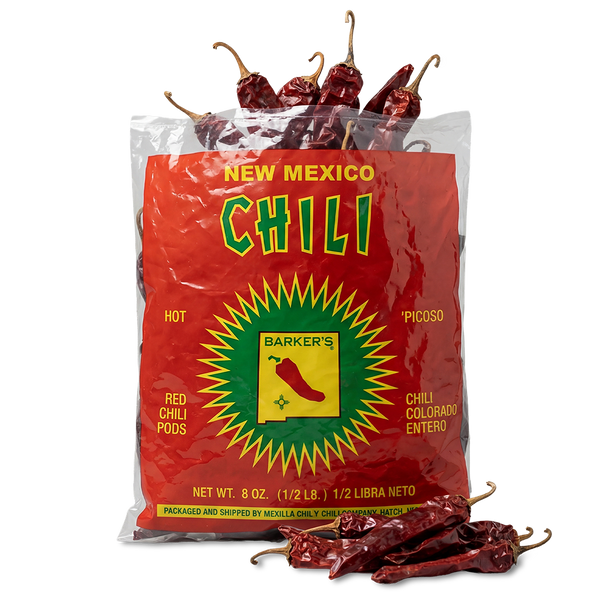
- Make the sauce: saute the remaining onion and the garlic in oil until soft. Stir in the cumin and oregano and toast 30 seconds. Add the red chile powder (or rehydrated, blended pods, or jarred sauce) and the broth, and simmer 15 to 20 minutes until rich and glossy. Season with salt.
- Heat a little oil in a skillet and warm each corn tortilla a few seconds per side until soft, then drain.
- To stack: dip a tortilla in the red sauce, lay it flat, top with beef and cheese, and repeat to build two or three layers.
- To bake casserole-style: layer sauced tortillas, beef, and cheese in a baking dish, finishing with sauce and cheese, and bake at 375 degrees F for 20 to 25 minutes until bubbly.
- Top each serving with a fried egg if desired and serve with beans and rice.
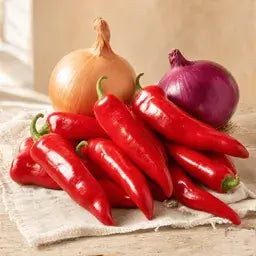
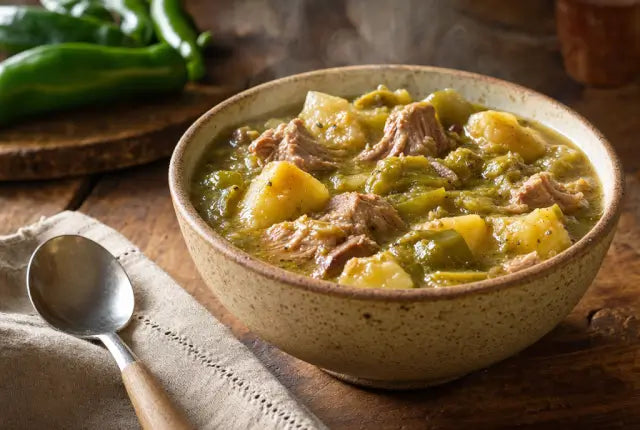
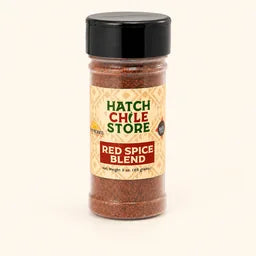
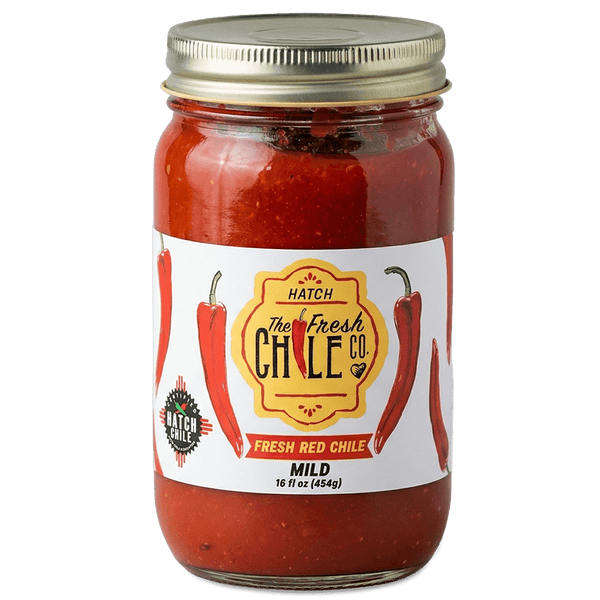
Made with Fresh Chile Company Fresh Red Chile Sauce, grown by our family in the Hatch Valley for five generations.
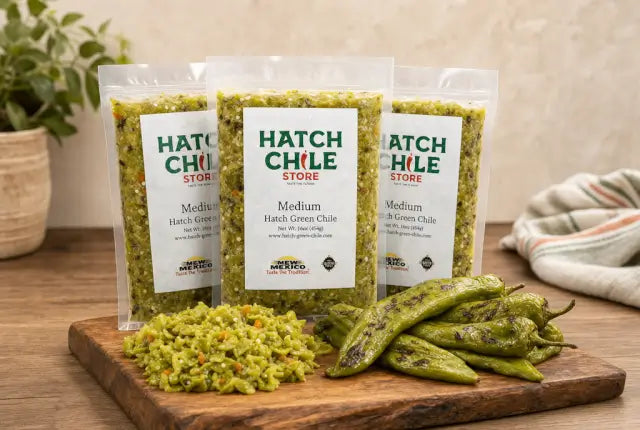
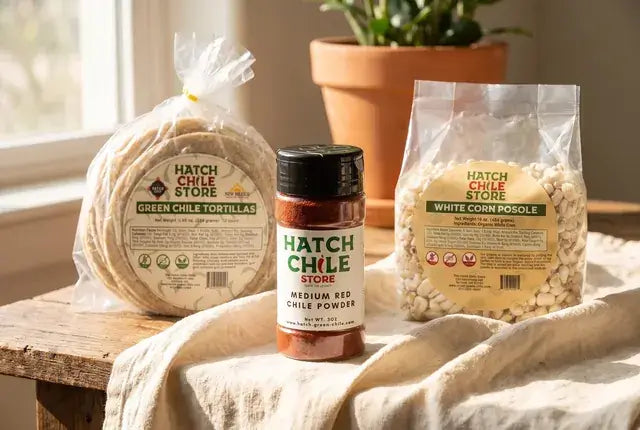
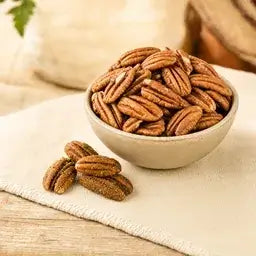
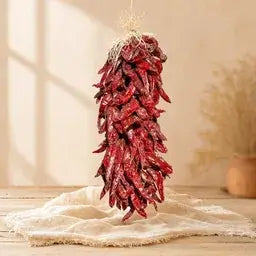
Everything for this recipe
Frequently asked questions
What are red chile enchiladas?
Red chile enchiladas are a New Mexican dish of corn tortillas layered or rolled with meat and cheese and smothered in a sauce made from dried red chile. Authentic versions use Hatch red chile for its deep, earthy, sun-dried flavor. They are traditionally stacked flat and often topped with a fried egg.
How do you make red enchilada sauce from scratch?
Saute onion and garlic, toast a little cumin and oregano, then stir in Hatch red chile, either powder or rehydrated and blended dried pods, with broth. Simmer 15 to 20 minutes until rich and glossy. Real Hatch red chile is what gives the sauce its authentic New Mexico flavor that store-bought cannot match.
Should red chile enchiladas be stacked or rolled?
In New Mexico they are traditionally stacked: sauced tortillas laid flat with meat and cheese between two or three layers. Stacking lets each person customize their plate and is easier than rolling. You can also bake them casserole-style for a make-ahead meal. Both taste identical.
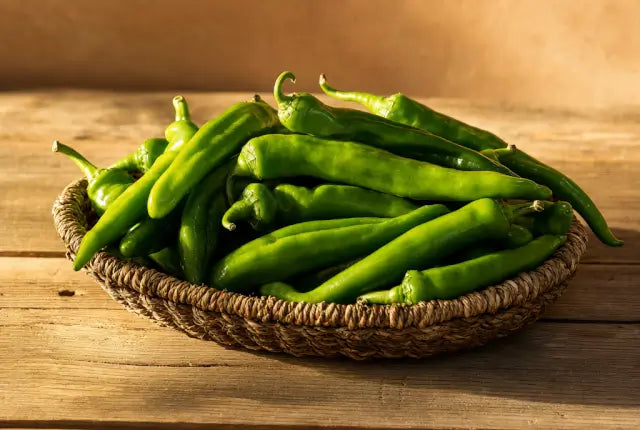
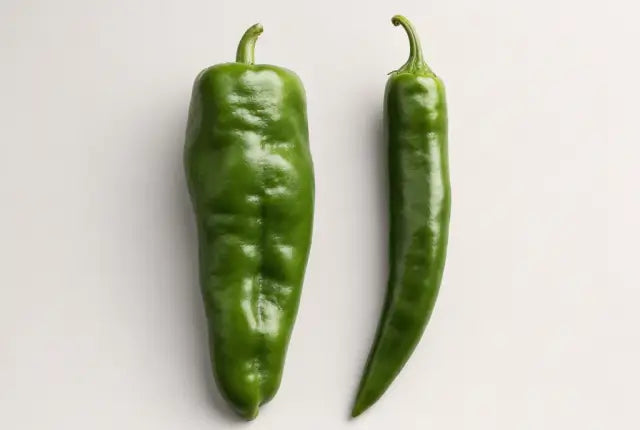
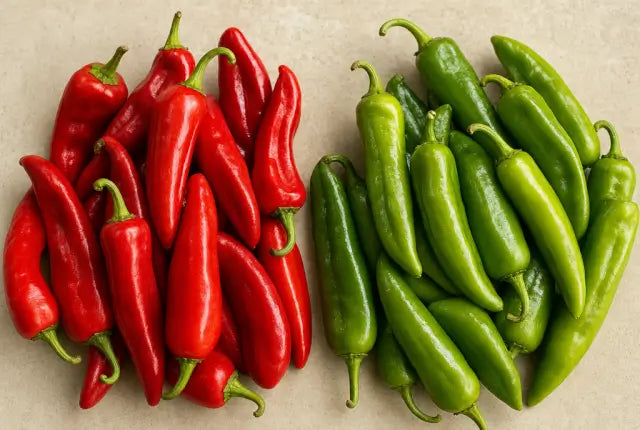
Is red chile hotter than green chile?
Not necessarily. Red and green Hatch chile come from the same pepper; red is simply left to ripen longer on the vine. The flavor differs more than the heat: red is earthier and sweeter, green is brighter and more vegetal. Heat depends on the chile lot and how much you use, so you can make either mild or hot.
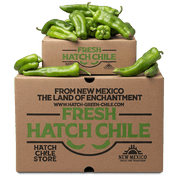
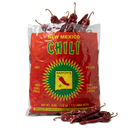
Where can I buy Hatch red chile for enchiladas?
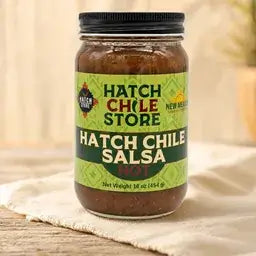
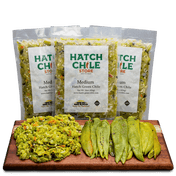
Order authentic Hatch red chile straight from our farm at the Hatch Chile Store. Use our pure Hatch red chile sauce at /products/fresh-chile-co-pure-hatch-red-chile-sauce for one-step convenience, or build from scratch with our red chile powder or dried red chile pods, all grown in the Hatch Valley.
Can you freeze red chile enchiladas?
Yes. Assembled enchiladas freeze well for up to 3 months; wrap tightly and reheat covered at 350 degrees F so they stay moist. The red chile sauce also freezes beautifully on its own, so doubling the batch gives you a head start on a future weeknight dinner.