






How to Roast Hatch Chile in the Oven
The broiler is the method for people who do not have a grill, do not want a smoky kitchen, or are roasting five pounds rather than twenty-five. It gives you a strong blister with less mess, indoors, in about ten minutes a tray. The trick is the same as every other method: blister the skin properly, then steam it immediately. Do those two things and the peels come off in sheets.
What you need
- Tongs and heat-safe gloves
- A sheet pan or tray, lined with foil
- A covered bowl or pan, or a food-safe bag, for steaming
- A knife and cutting board (optional)
You do not need oil. Oil is optional for a broiler batch, but the goal is blistered skin, not browning, and traditional blistering does not call for it.
Prep: wash, dry, vent
Rinse the pods under cool water to get the field dust off, then pat them completely dry with a clean towel. Dry skin blisters faster and chars more evenly than wet skin — this is a thirty-second step that pays off the moment the pods hit the heat.
Cut a small slit along one side of each pod. That is your steam vent; it is simpler and more reliable than poking holes.
Then batch your chile. Do not try to fit everything on one tray. Overcrowding is the single most common cause of an uneven blister, and an uneven blister is what makes peeling miserable later.
Roast under the broiler
- Set the broiler to high and let it preheat.
- Line the sheet pan with foil and lay the chiles out in a single layer, with space between them.
- Broil until the skins blister, then flip and repeat on the other side. Expect roughly six to twelve minutes total, flipping once or twice.
- Move the pods straight to steaming as soon as they come out.
What "done" looks like: most of the skin blackened and blistered. Not gently baked, not lightly freckled — blistered. That is the part that makes the skins let go.
If you want a harder char, move the tray closer to the element. Watch it closely when you do; broilers vary enormously, and the difference between blistered and burnt at that distance is a minute.
Steam, then peel
This is the step people skip, and it is the reason peeling goes badly.
Move the hot chiles straight into a covered bowl or pan, or a food-safe bag, and let them steam for five to ten minutes — until they are cool enough to handle. The trapped heat and moisture loosen the skin. Then peel. Do not let them sit out uncovered and cool down first; once that happens the skin tightens back onto the flesh.
Peeling goes faster if you wear gloves, especially with Hot or X-Hot chile, and if you pinch the edge of a blister and pull rather than scraping. If you need water to help, peel over a bowl instead of blasting the pods under a running tap — that rinses flavor away.
Most of the heat in a chile lives in the lengthwise veins inside the pod, not the seeds. If you want a milder result, take out more of the membrane while you are in there.
Cool and freeze flat
If you are roasting for the freezer, three things matter: cool it fast, portion it small, and freeze it flat.
- Cool promptly. Do not leave roasted chile sitting out for hours.
- Portion into meal-size bags. Half a cup or one cup is a good default.
- Press the air out and freeze the bags flat. Flat bags freeze faster, which keeps the texture better, and they thaw in minutes on a weeknight.
- Label each one with the date and the heat level. In February you will not remember which bag was the Hot.
If something goes wrong
The skin will not peel. Almost always it was not blistered enough, or it was not steamed. Put it back under the broiler for another thirty to ninety seconds, then steam it five to ten minutes while it is still hot.
The chile came out mushy. Usually overcooked, or cooled and frozen too slowly. Higher heat, shorter time, and freeze in flat portions so it freezes quickly.
The kitchen got smoky. Run the hood fan and crack a window. The broiler is already the low-smoke indoor option; for big batches, roast outdoors.
Not enough char flavor. Move the tray closer to the element, and watch it.
Where to get the chile
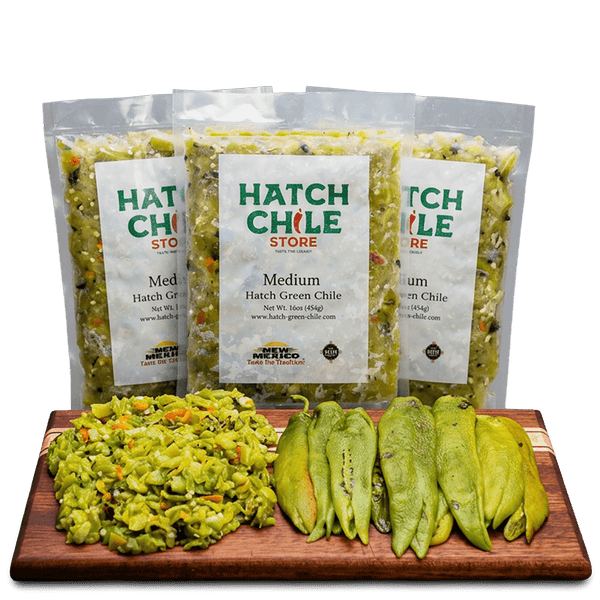
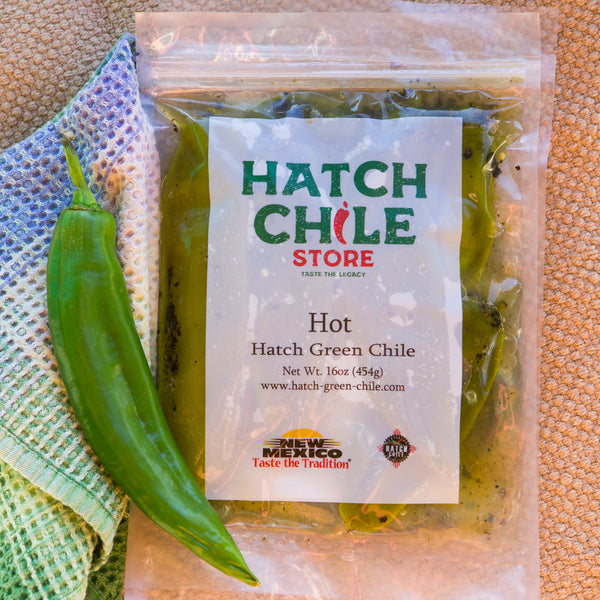
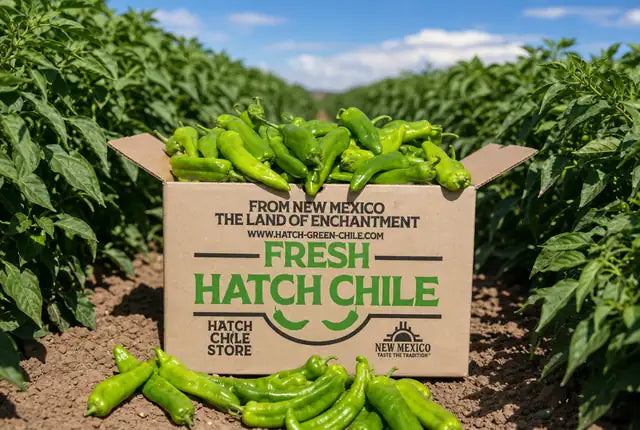
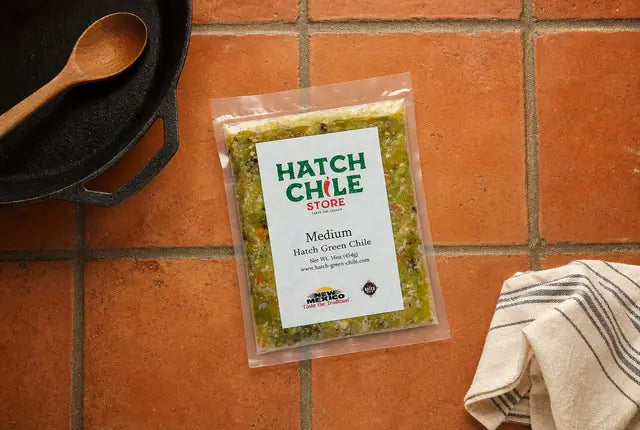
Any of this only works with chile worth roasting. Ours is picked in the Hatch Valley and shipped the same week during the season — fresh Hatch green chile comes in 5, 10 and 25 lb boxes, in Mild, Medium, Hot and X-Hot.
And if you would rather use a grill, a stovetop flame, an air fryer or a microwave, all five methods are laid out side by side in our full guide to roasting Hatch green chile.