


Main Course
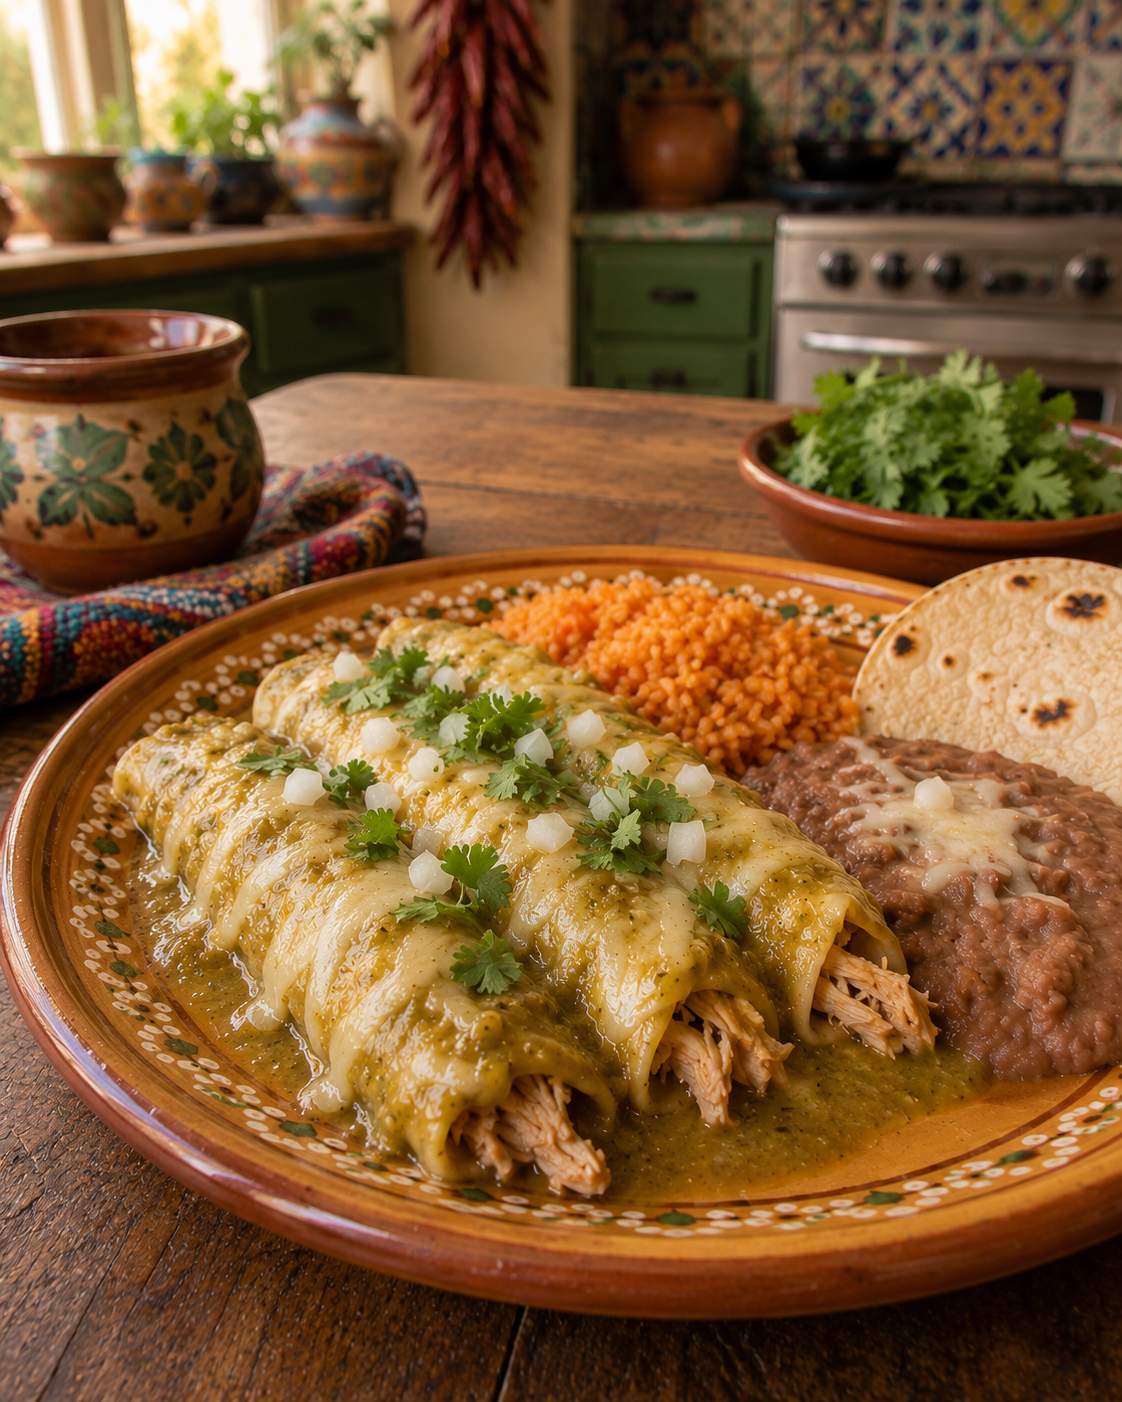
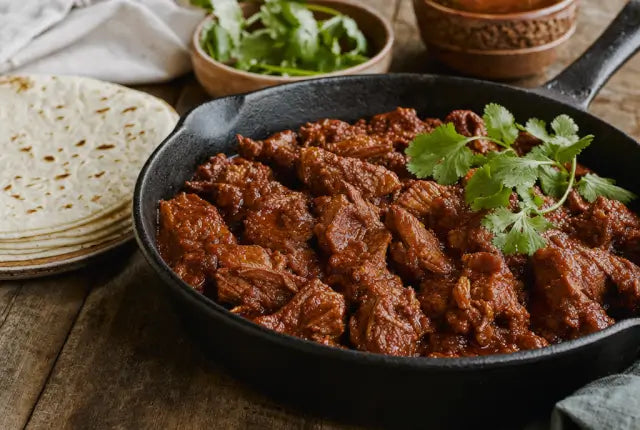
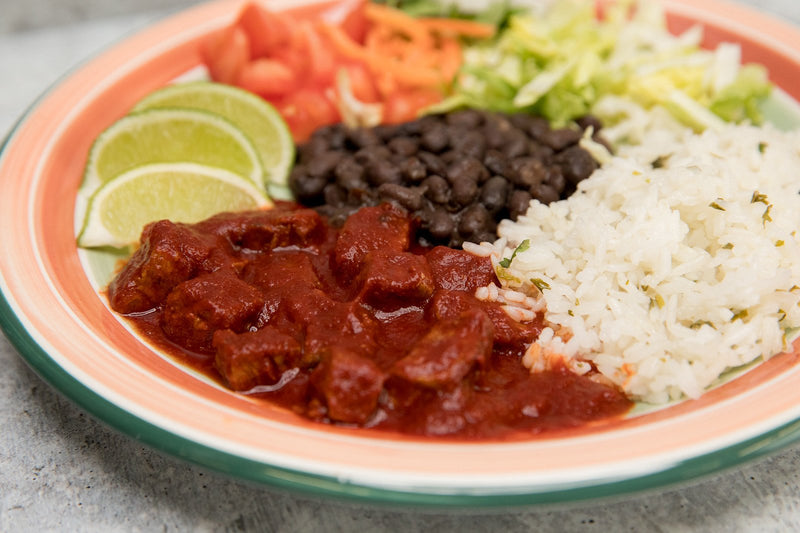
Hatch Red Chile Pork
 4.8 · 96 reviews
Total40 min
Serves4 servings
DifficultyEasy
Heatmedium
 4.8 · 96 reviews
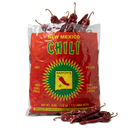
Hatch Red Chile Pork
- Prep10 min
- Cook30 min
- Total40 min
- Serves4 servings
Easymedium heat
Ingredients
Instructions
- Set the Instant Pot to Saute and heat the oil. Brown the pork cubes in batches until golden on all sides, then remove.
- Add the onion and garlic to the pot and cook 2 minutes until softened.
- Return the pork to the pot. Add the red chile sauce, broth, cumin, oregano, and salt, and stir to coat.
- Lock the lid, set to high pressure, and cook for 10 minutes.
- Let the pressure release naturally for 10 minutes, then quick-release any remaining pressure.
- Stir in the vinegar if using, then taste and adjust salt.
- Serve with warm tortillas, over rice, or in burritos.
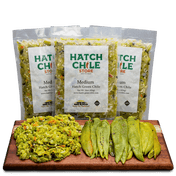
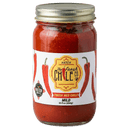
Made with Sun-Dried Hatch Red Chile Sauce, grown by our family in the Hatch Valley for five generations.
Everything for this recipe
Frequently asked questions
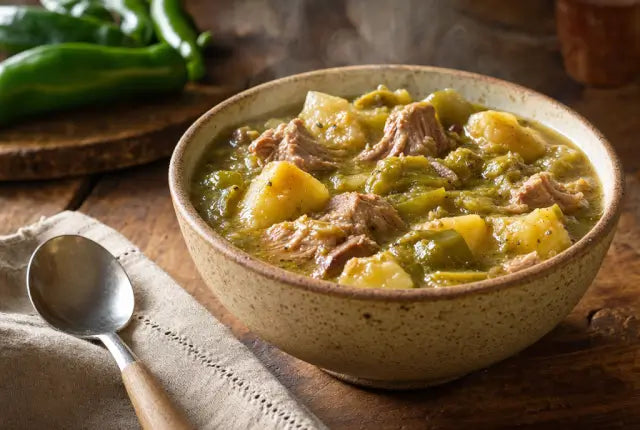
What is red chile pork?
Red chile pork is a classic New Mexican dish of pork simmered in a rich sauce made from ripened red chile. This Instant Pot version delivers tender, saucy pork in about 30 minutes, with the deep, earthy flavor of authentic Hatch red chile rather than chili powder blends.
What is the difference between red chile pork and carne adovada?
They are close cousins. Carne adovada marinates pork in red chile for up to 24 hours and slow-braises it in the oven for hours, while this red chile pork uses the Instant Pot to build tender, saucy pork in about 30 minutes. Same red chile flavor, far less time.
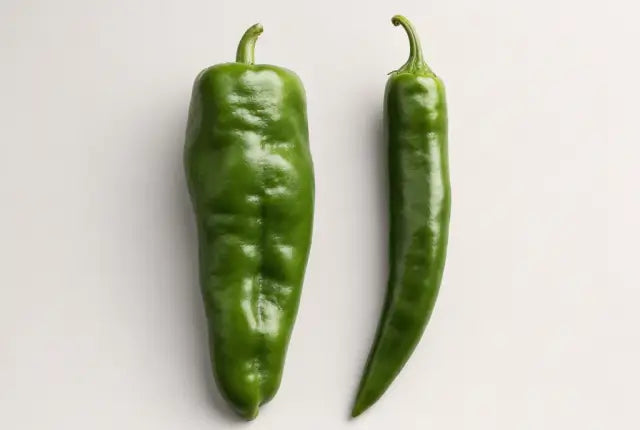
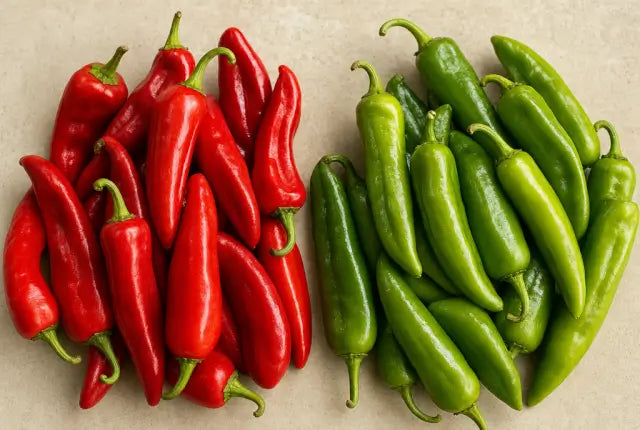
What kind of chile is used for red chile pork?
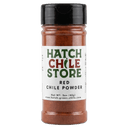
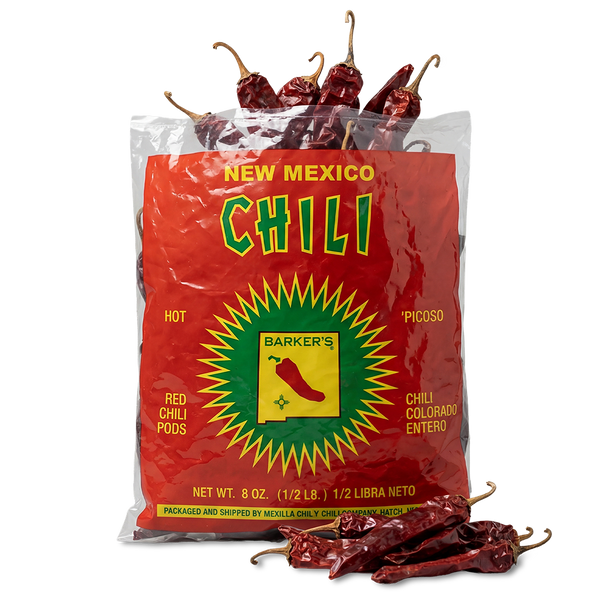
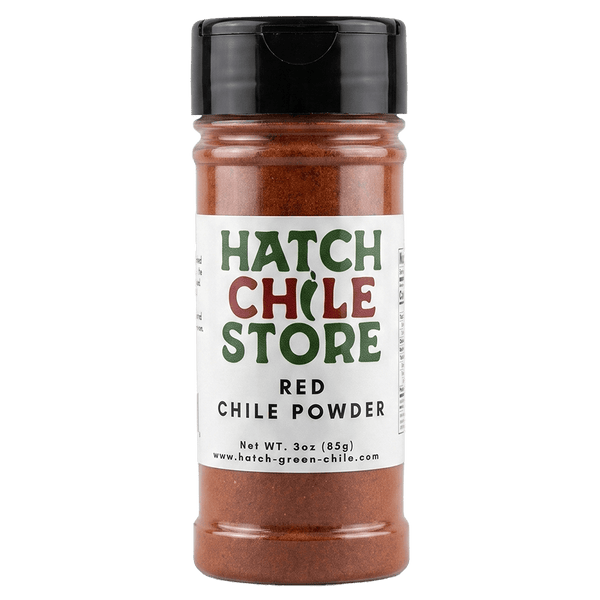
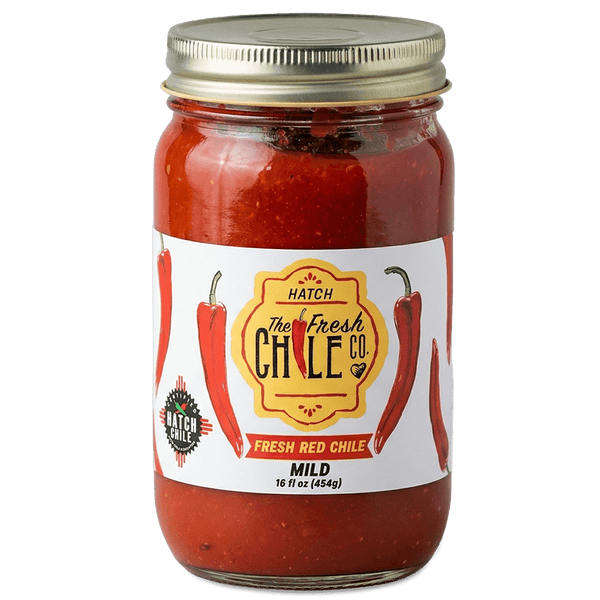
Dried, ripened New Mexico red chile — the same Hatch chile that turns deep red when left to mature on the plant. It is earthy, slightly fruity, and runs mild to medium-hot. Use red chile pods, powder, or pure red chile sauce rather than grocery-store chili powder, which is a different blend.
Can you make red chile pork without an Instant Pot?
Yes. Brown the pork, then simmer it covered on the stovetop or in a 325 degree oven for 2 to 3 hours until fork-tender, adding broth as needed. The flavor is excellent either way; the Instant Pot simply gets you there much faster.
Where can I buy Hatch red chile for this recipe?
We grow and sell authentic Hatch red chile direct from our family farm in the Hatch Valley. Use our dried red chile pods, Hatch red chile powder, or jarred pure Hatch red chile sauce — each one gives this pork real New Mexico flavor.